Welcome to your quick and easy setup guide for installing the Smart Water Dispenser system. Let's walk you through a streamlined, step-by-step installation process that includes visual guides and helpful tips.
You will find some DIY videos and a Quick Start Guide
Instructional videos
Installation video
Content of the box
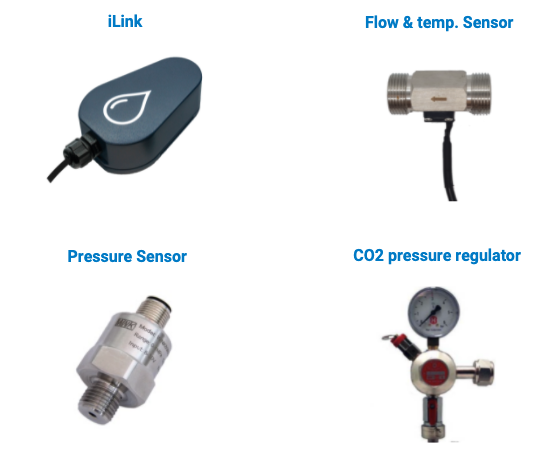
- 2 Droople iLink (LoRaWAN communication module)
- 1 Smart flow sensor
- 1 Smart pressure sensor mounted on the CO2 pressure regulator
- 1 CO2 pressure regulator
- 2 lithium-ion battery
- 1 Torx screwdriver T8
Safety information
- Keep the device out of the reach of children.
- Do not expose the iLink to temperatures below -20°C or above 60°C.
- Do not expose the flow sensor to liquids below 0°C or above 65°C.
- Do not expose the flow sensor to pressure above 17.5 bar (1.75 MPa).
- During installation, cleaning or decontamination of the sensor, the iLink should be disconnected from the sensor and protected from water or other fluid.
- Basic knowledge of plumbing is required to install the sensor on water points
To see the installation process for your gateway, click here
To see the standard installation process for the Flow sensors, click here.
To see the process to enter the iLink on the platform and create the associated object, click here
A. Pressure sensor installation
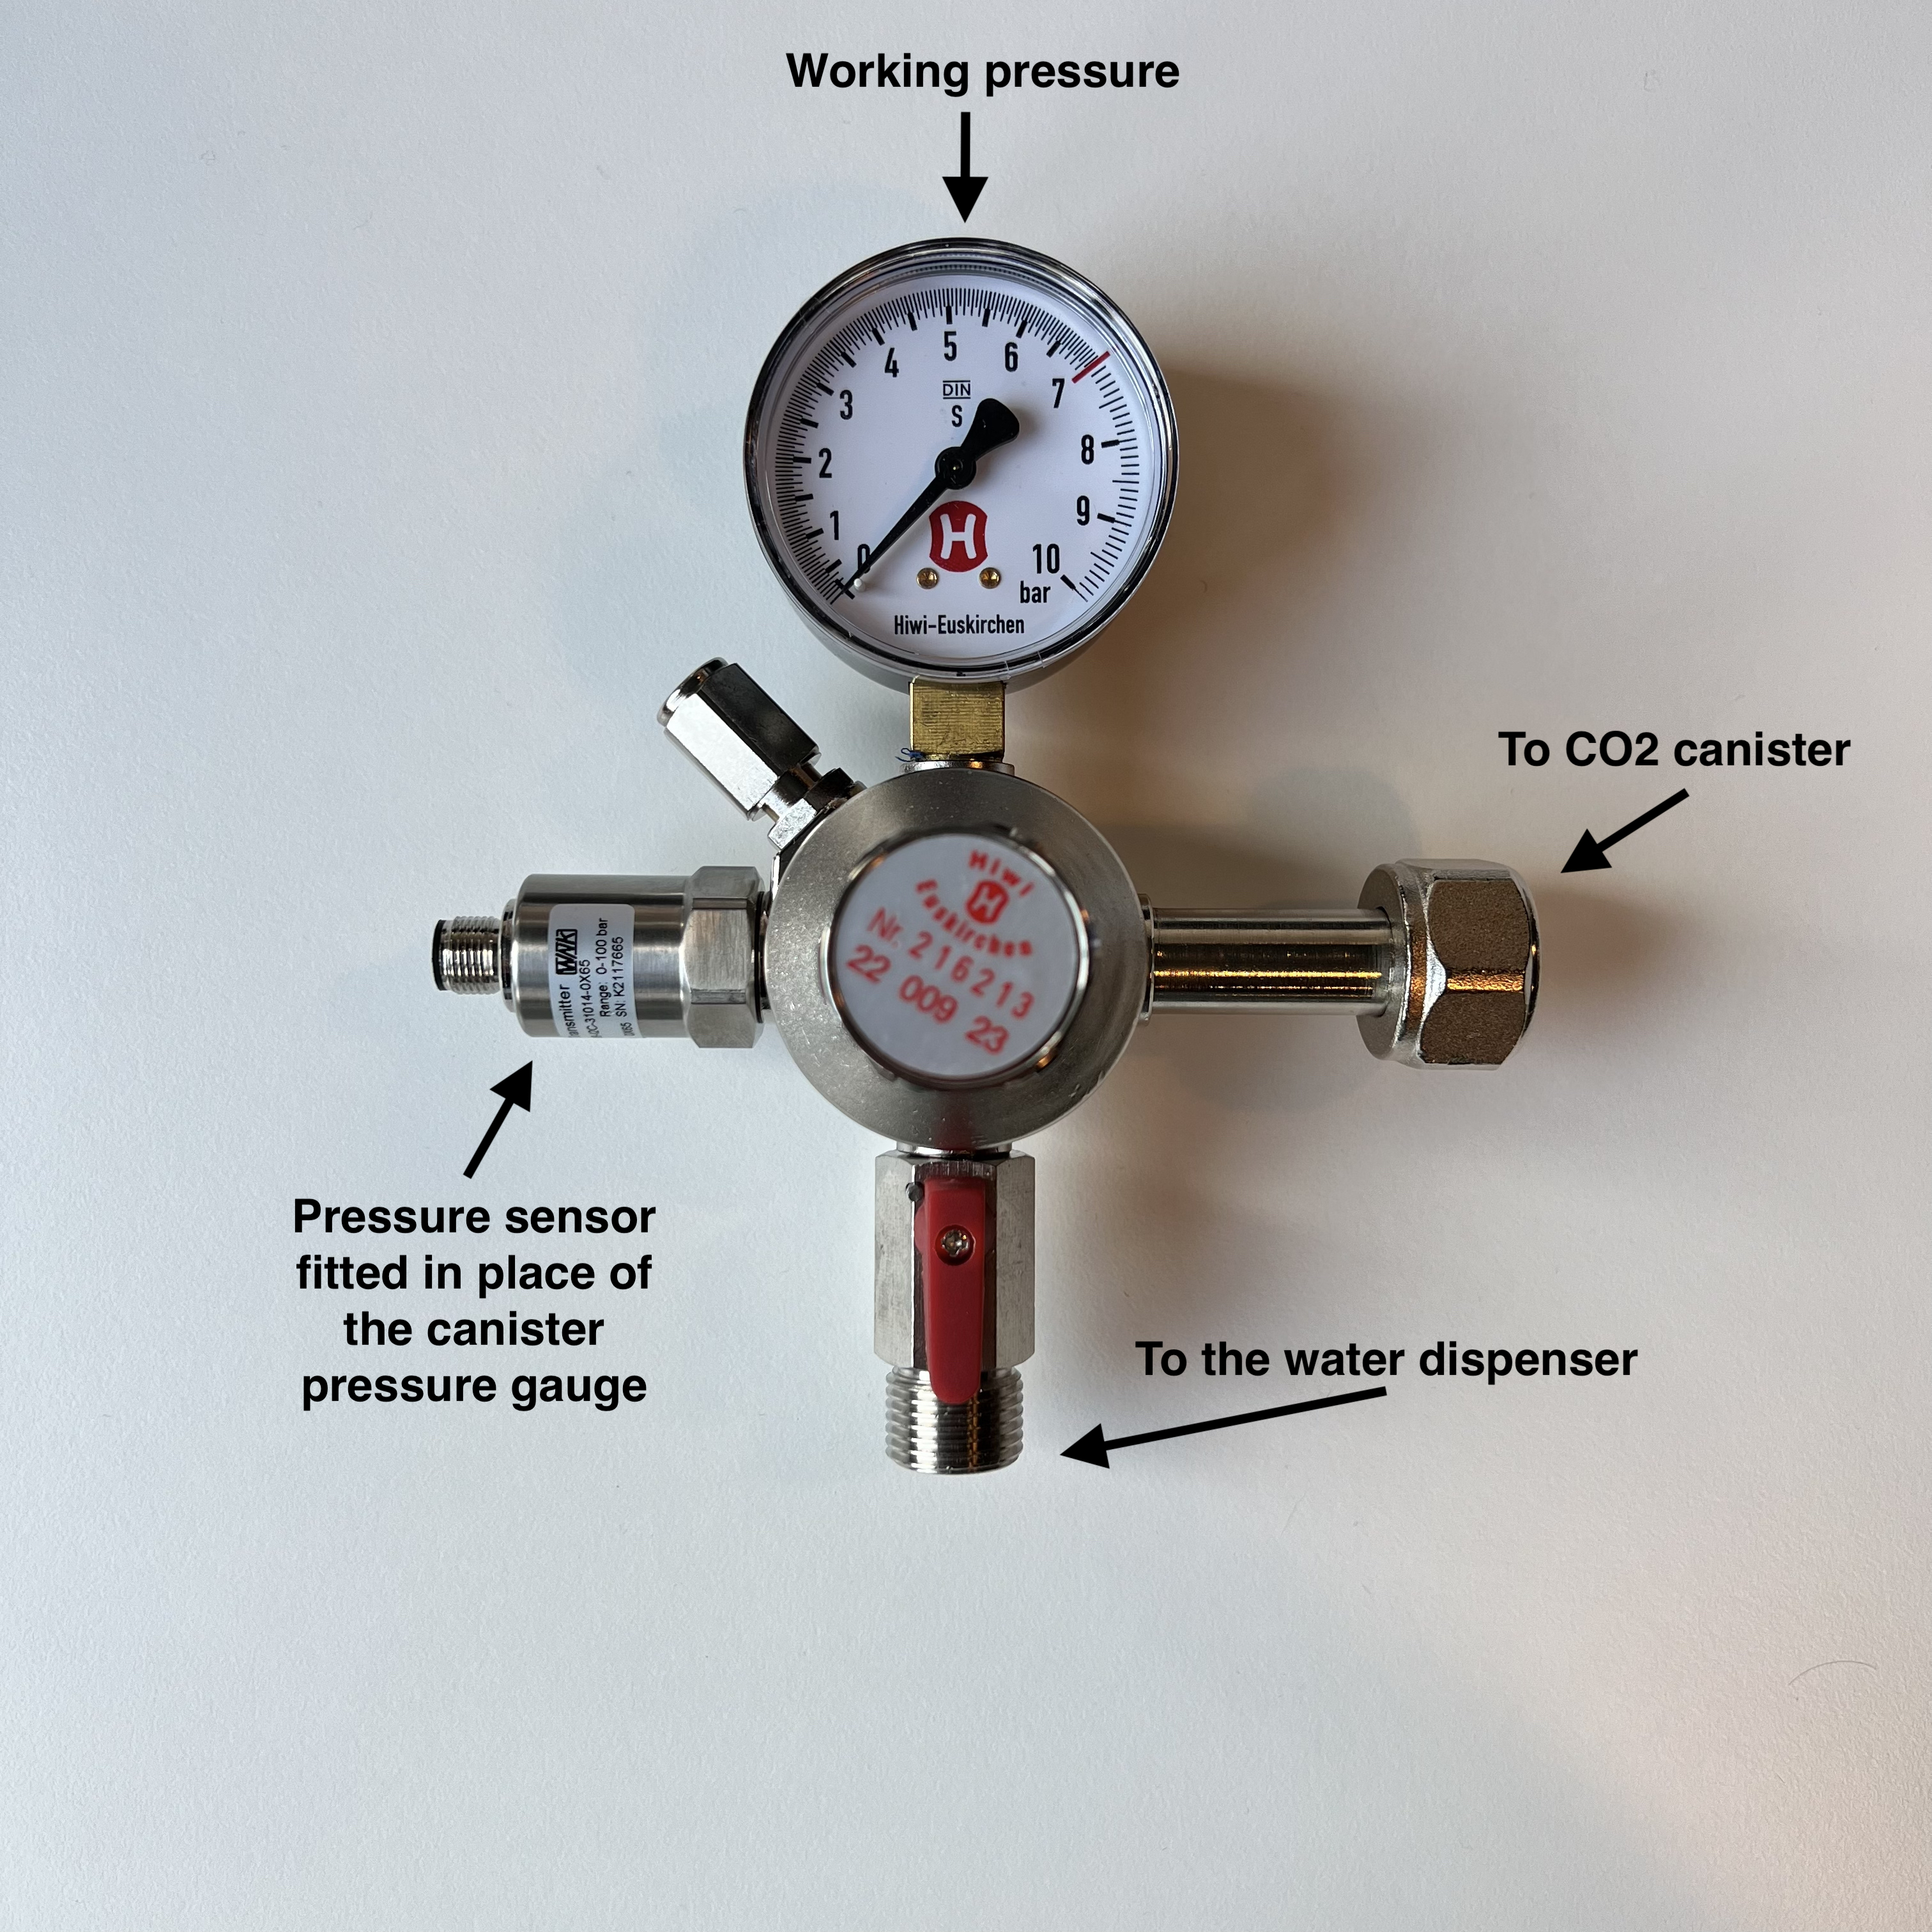
- Install the CO2 pressure regulator on the CO2 canister. Make sure that the screw of the regulator is tight to avoid any gas leak.
-
Connect the sensor to the iLink using the M12 connector cable.
-
Tighten the screw of the connectors to secure the connection.
-
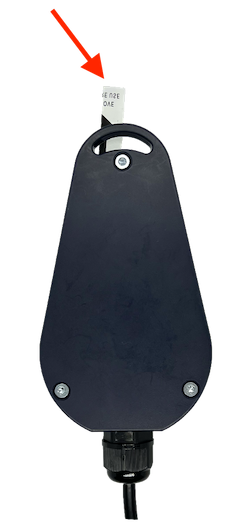
Remove the plastic tab to turn on the iLink.
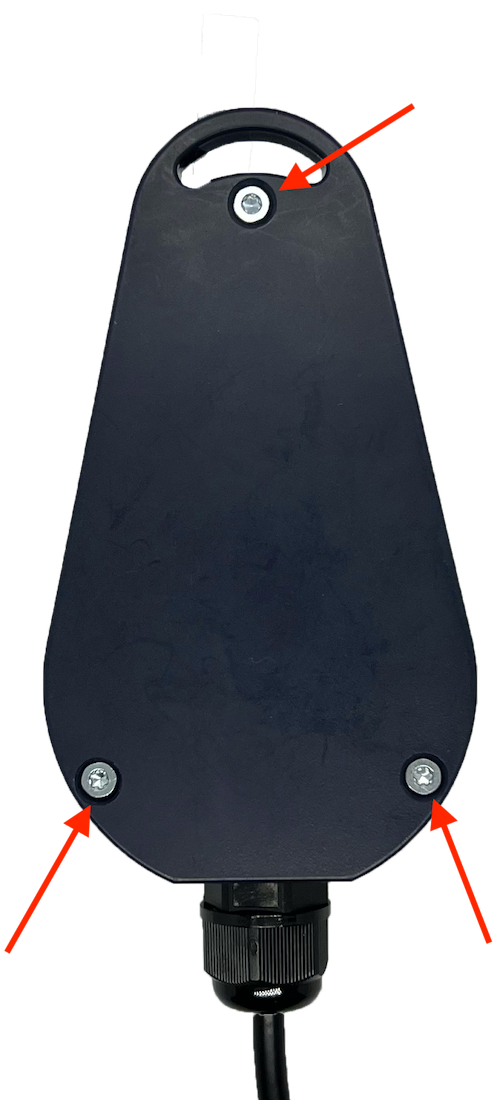
- Screw the three screws in order to secure the back cover of the iLink.
- Place the iLink in a way that no water can leak onto it. Use zip ties or double-sided tapes to secure its position.
B. Pressure sensor configuration on the Droople App
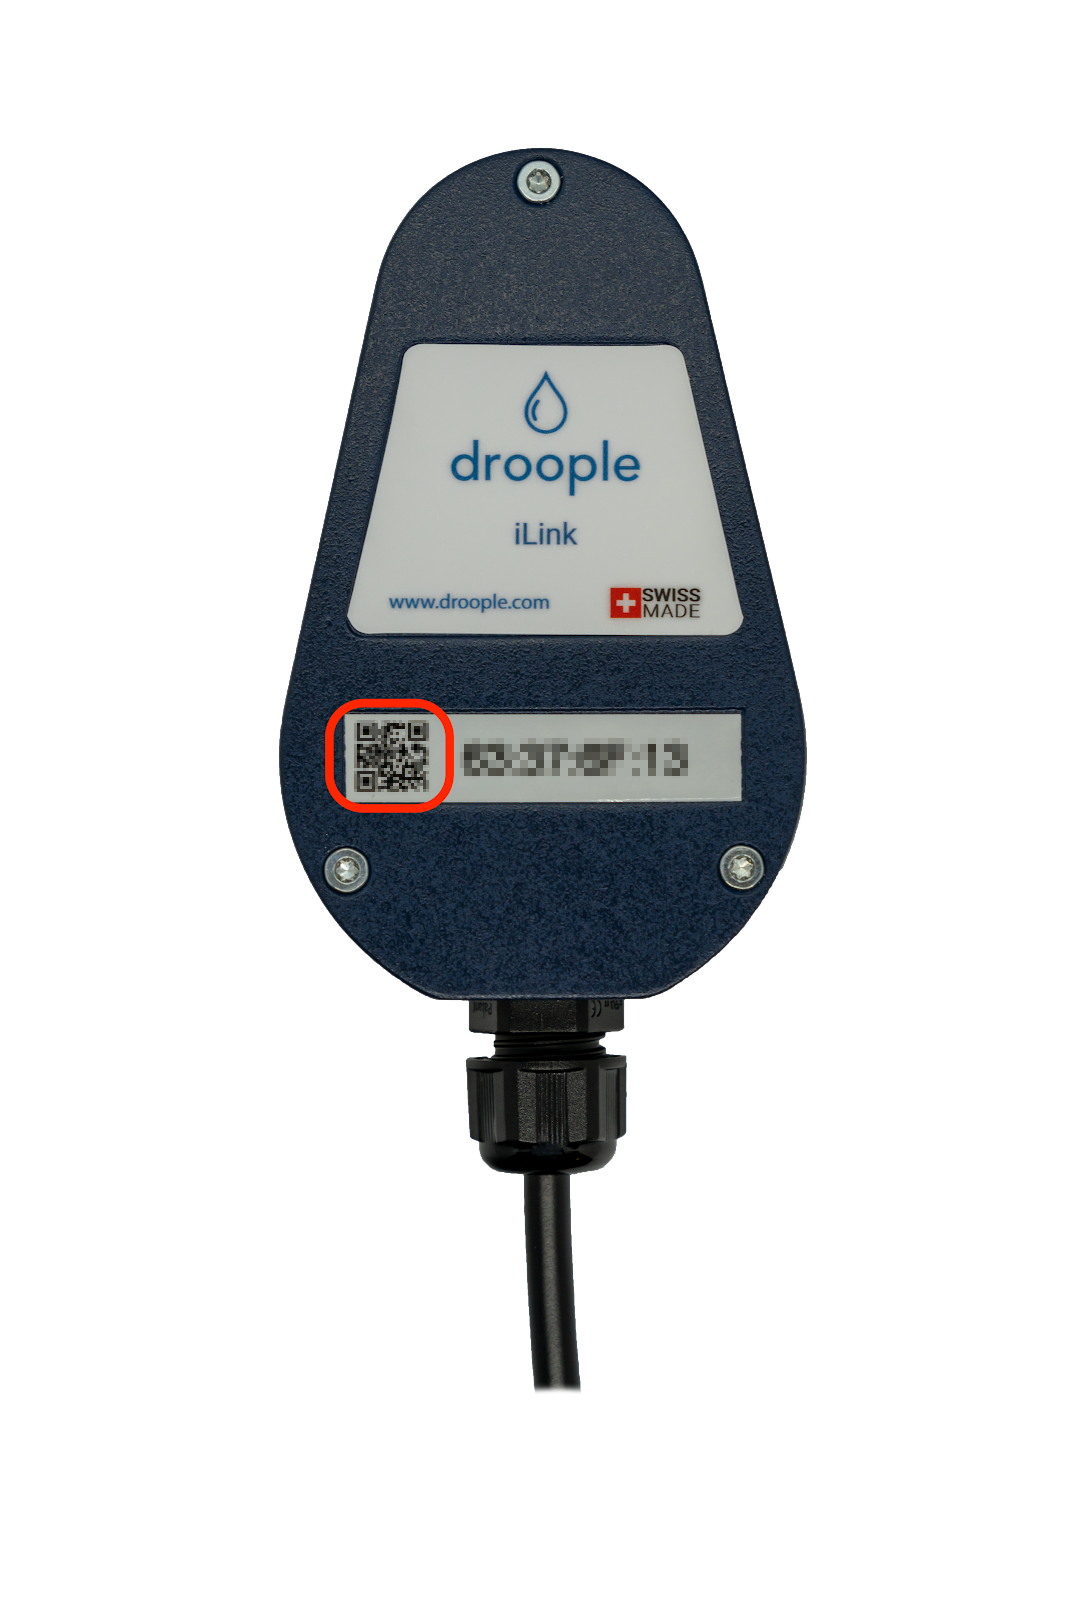
- Scan the QR Code on the iLink with the orange cable with your smartphone
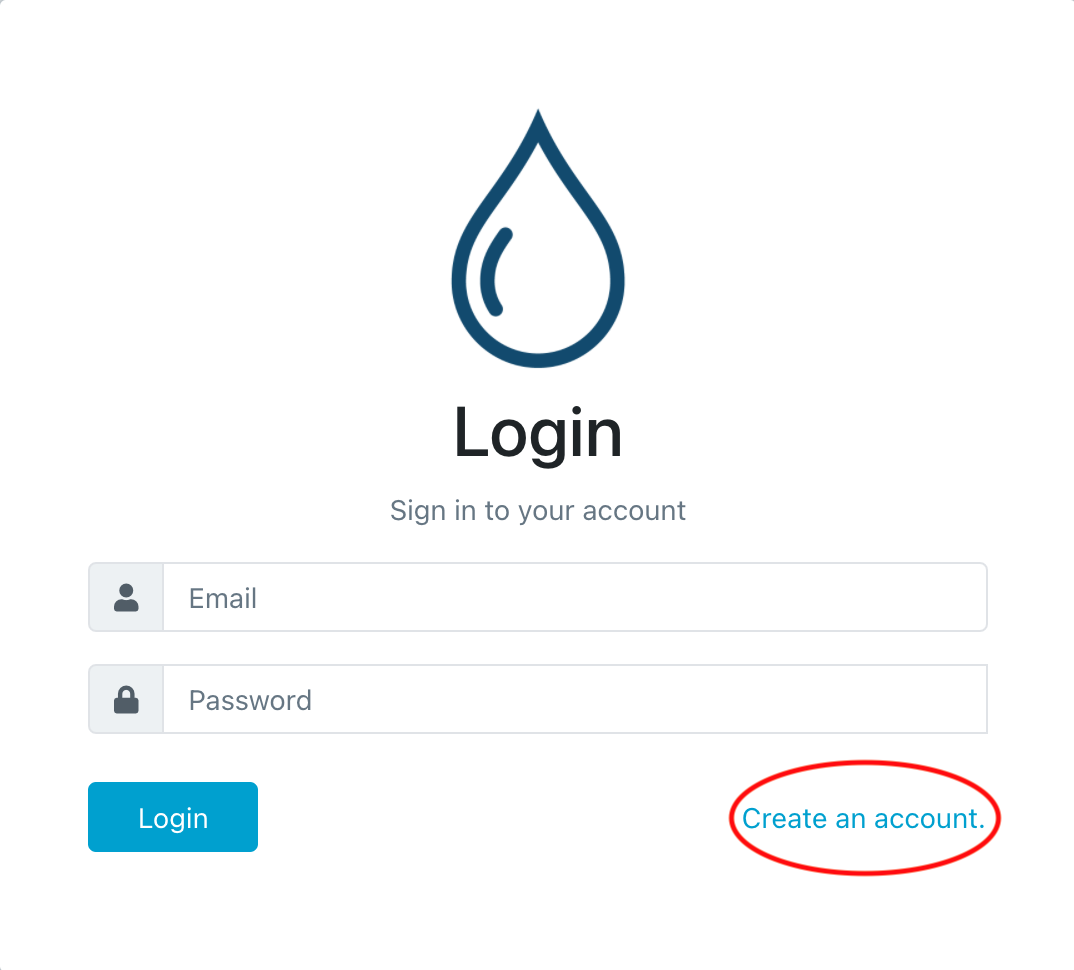
- Log in to your Droople account if needed.
- Once logged in, you will be redirected to the setup page. As your asset already exists because you created it a few steps before, you will have to click on the button Attach to an existing asset and choose the asset from the drop-down list.

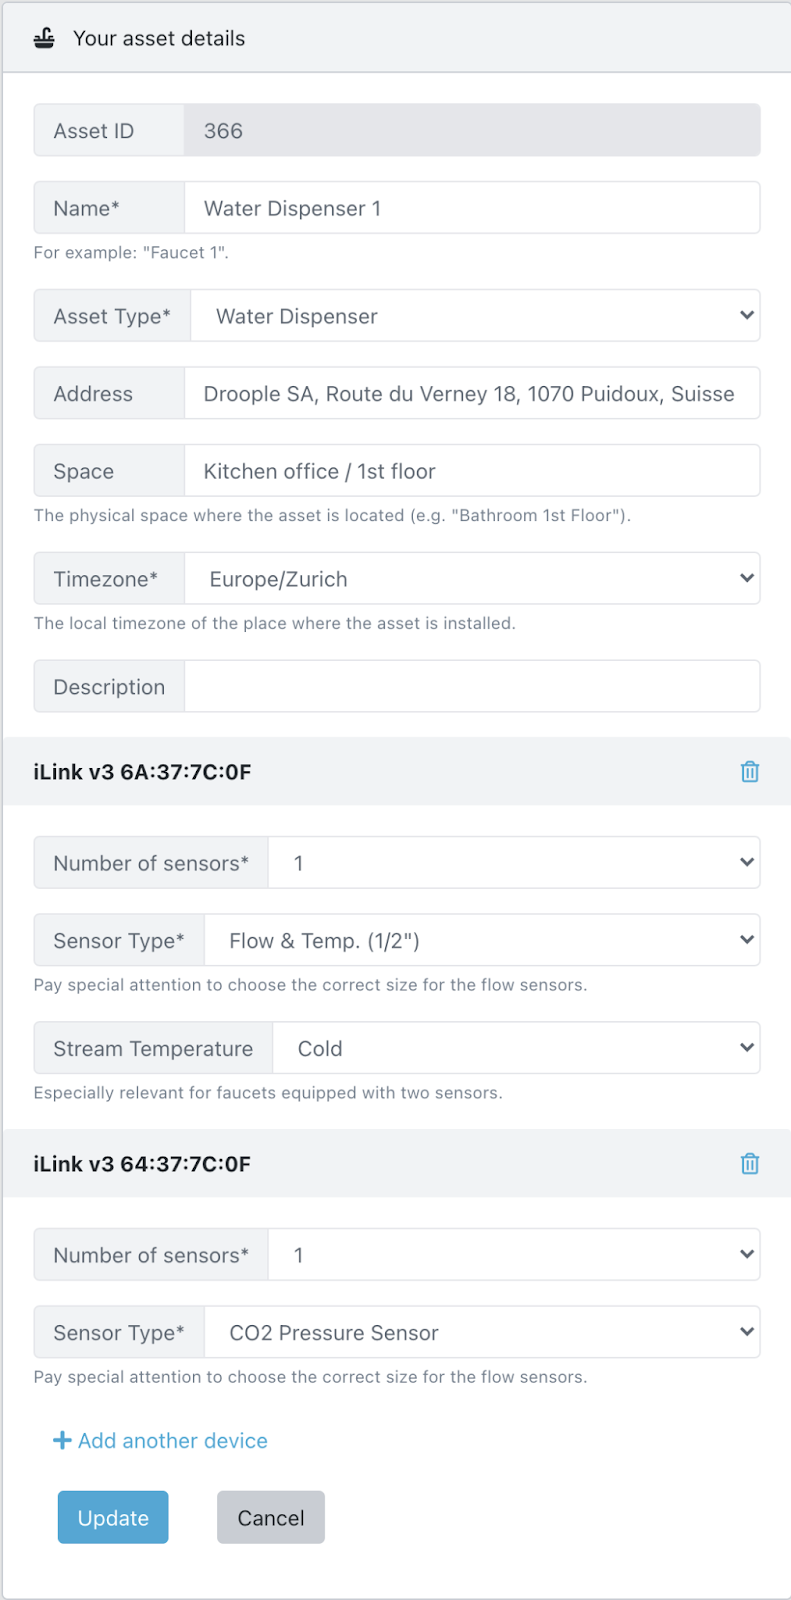
- Configure the sensor connected to your iLink
a. Specify the number of sensors connected to your iLink: 1 in your case
b. For your sensor:
i. Select the sensor type: CO2 pressure sensor
-
Click “Update”. You will then be redirected to the list of your configured assets.
-
Your metrics should now be available in the menu under “Metrics Overview”.
Let's see if the magic works
-
To see if everything has been set up correctly, let water flow into the asset you want to monitor for at least 10 seconds.
-
Check that the sensor has been correctly installed and there is no water leakage.
-
Connect to the Droople App and see if some data are displayed in the Metrics Overview dashboard. Note that the Droople App will need up to 30 minutes to display the first data points.
-
Congratulations! You have successfully installed the Droople Smart Water Dispenser. It’s time to take a break and enjoy a good glass of water :-)
C. Publishing your Awareness Screen
How to generate a QR code for my water dispenser awareness screen?
To generate a QR code for your water dispenser awareness screen, follow these steps:
- Open the web browser on your device and navigate to our online platform.
- Login to your account and go to the "Awareness Screen" menu.
- From the list of available water dispensers, select the one for which you want to generate a QR code by clicking on its name.
- Once you have opened the desired awareness screen, copy the URL from your browser navigation bar. You can do this by selecting the URL and pressing the "Ctrl" and "C" keys on your keyboard, or by right-clicking on the URL and selecting "Copy".
- Use a 3rd-party QR code generator provider to create a QR code for your awareness screen. You can find many free QR code generators online by doing a simple search on your preferred search engine. You can use for example qrcode-monkey.com.
- Paste the copied URL into the QR code generator and follow the instructions provided by the provider to generate your QR code.
- Once you have generated the QR code, you can print it or save it as an image to share with others. Anyone who scans the QR code will be taken directly to your water dispenser awareness screen on our platform.
How to integrate an Awareness Screen into my own website?
To integrate an Awareness Screen into your own website, follow these steps:
- Open the web browser on your device and navigate to our online platform.
- Login to your account and go to the "Awareness Screen" menu.
- Find the awareness screen that you want to integrate into your website in the list.
- Look for the little HTML icon "</>" located on the right side of the list in the same row, and click on it.
- A pop-up window will appear displaying the HTML iframe code that you need to copy.
- Paste the copied HTML iframe code into your own website where you want the awareness screen to appear. You can do this by opening your website's HTML code editor and pasting the code into the appropriate location.
- Save your changes and publish your website. The awareness screen should now appear on your website, displaying real-time data from your water dispenser.
Note that the appearance of the awareness screen on your website may vary depending on the settings and styling of your website. If you encounter any issues during the integration process, please refer to our support documentation or contact our support team for assistance.
