Thank you for choosing our NB-IoT product! Follow this simple four-step process to get started
To ensure you have all the help you need with your installation, we've prepared detailed video tutorials. This step-by-step video is designed to guide you through the entire hardware installation process.
Access the video guides through the following link:
Video In Progress
Installation Steps
- Install the sensors
- Connect the sensors to the NB-IoT
- Configure the NB-IoT Ports
- Power UP and Finalize Setup
1. Install the sensors
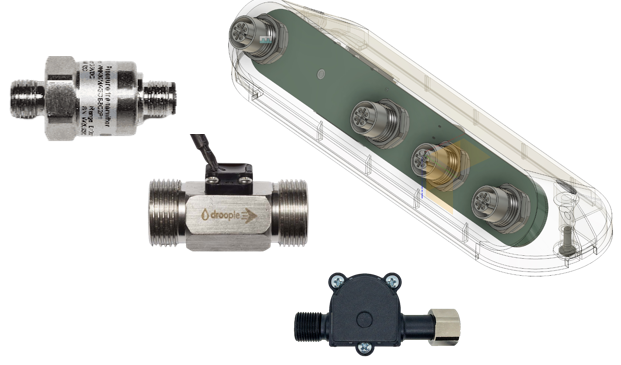
Our NB-IoT system supports various sensor types, including:
- Flow & Temperature Sensors
- Flow, Temperature & Conductivity Sensors
- Water Pressure Sensors
- CO2 Pressure Sensors
Flow Sensors Installation
- Turn off the water supply before beginning the installation
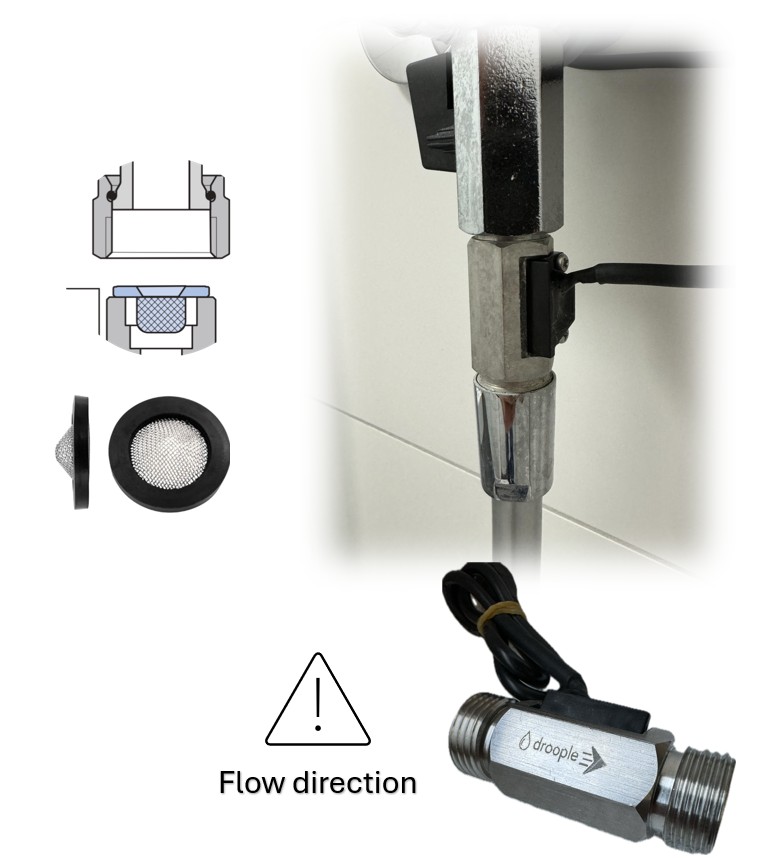
- Position the flow sensor in the desired location, ensuring correct alignment with the flow direction (indicated by an arrow on the sensor)
- To protect the sensor's internal propeller from obstructions, we strongly recommend installing a strainer filter upstream of the sensor
Pressure Sensors Installation
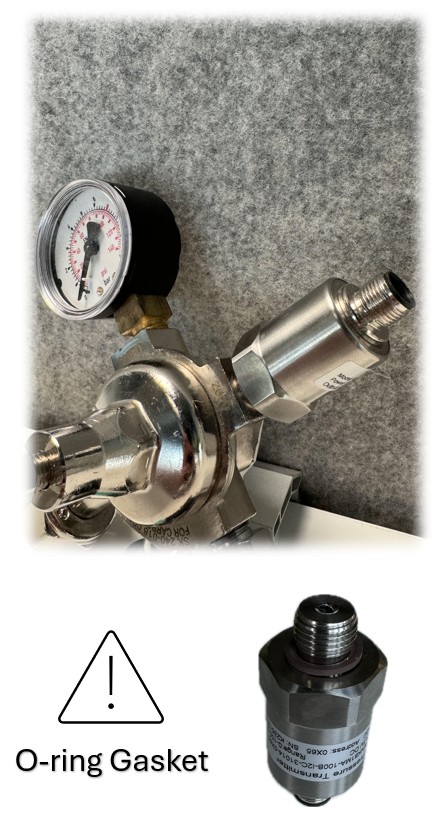
- Depressurize the system (water or CO₂) before starting the installation to ensure safety
- During the instllation, do not forget to use the provided O-ring gasket to prevent leaks
- Tighten the connection securely , but avoid over-tightening, which could damage the sensor
- Once installed, re-pressurize the system carefully and check for any leak
2. Connect the Sensors to the NB-IoT
-
Begin by connecting the sensors to the NB-IoT module
- There is no need to assign specific sensors to specific ports (A, B, or C). The ports will be configured later based on the connected sensors
-
Use the correct cable for each sensor type to ensure proper functionality:
- FLOW: For flow and temperature sensors
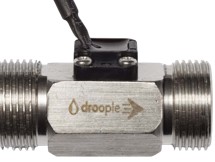
- TRION: For flow, temperature and conductivity sensors
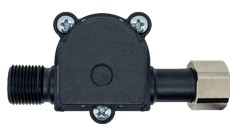
- PRESSURE: For water pressure or CO2 pressure sensors
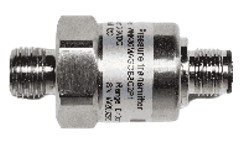
- Ensure that all cable connections are secure and properly aligned with the ports on the NB-IoT device
3. Configure the NB-IoT Ports
- Locate the QR code on your NB-IoT device

- Scan the QR code using your smartphone
- Follow the on-screen configuration tutorial to:
- Create a new asset or assign the device to an existing asset
- Configure the ports with the correct sensor type and dimensions
- This step is critical: if the selected sensor dimensions are incorrect, the measurements will not be accurate
- To find the sensor type and dimensions, refer to the label on the sensor's packaging
- If applicable, attach consumables such as:
- Filters (e.g., for flow sensors)
- CO2 bottles (for CO2 pressure sensors)
- These consumable details will be tracked by the platform to help you:
- Plan filter replacements based on historical consumption
- Automatically recommend a CO₂ bottle replacement when the remaining level reaches 10%
- These consumable details will be tracked by the platform to help you:
4. Power UP and Finalize Setup
- Connect the power supply to the NB-IoT device:
- Insert the power connector into the POWER port on the device
- Plug the power supply into a power socket
- Wait for the Quality Checklist at the end of the tutorial. This page validates each data point. As each one passes, it will turn green, confirming that everything is properly connected and functioning.
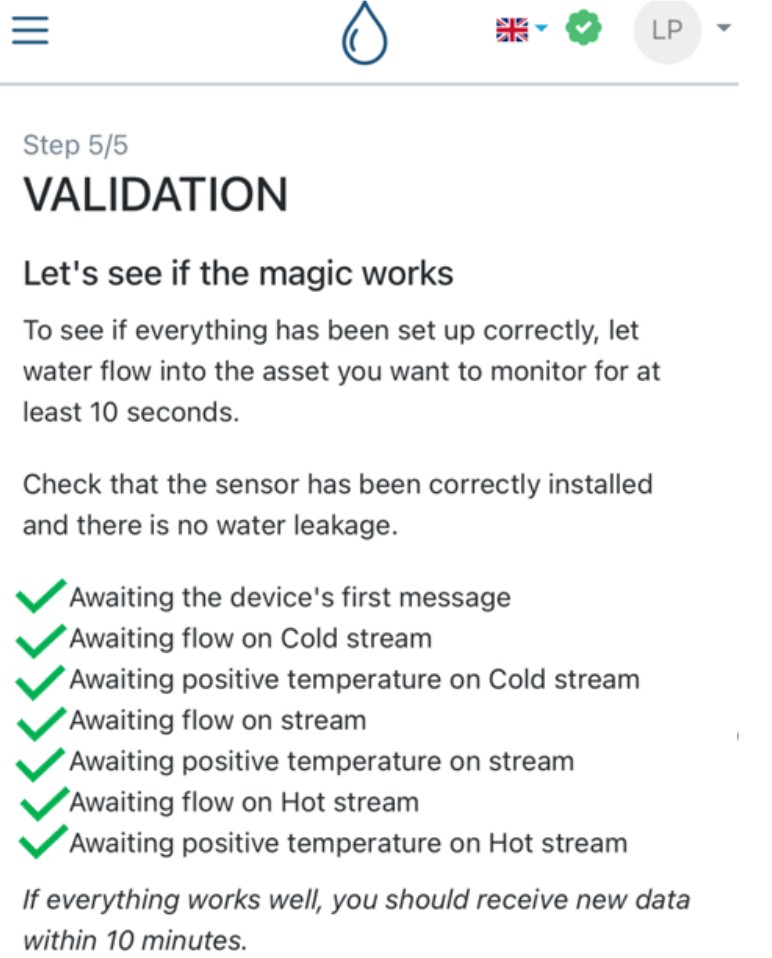
- Once all points are validated the checklist turns green, the asset will become visible on the Droople platform
Congratulations!
You’ve successfully set up your NB-IoT device. Your system is now ready for use, and you can begin monitoring your data directly through the Droople platform
