This page will show you how to install the Droople solution on a water dispenser.
You will find some DIY videos and a Quick Start Guide
Instructional videos
Installation video
How to use the solution
Content of the box
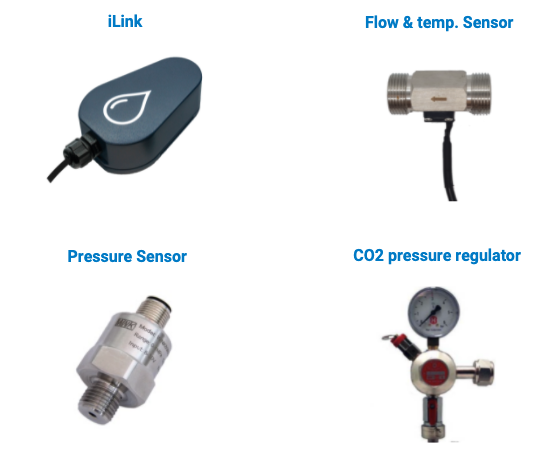
- 2 Droople iLink (LoRaWAN communication module)
- 1 Smart flow sensor
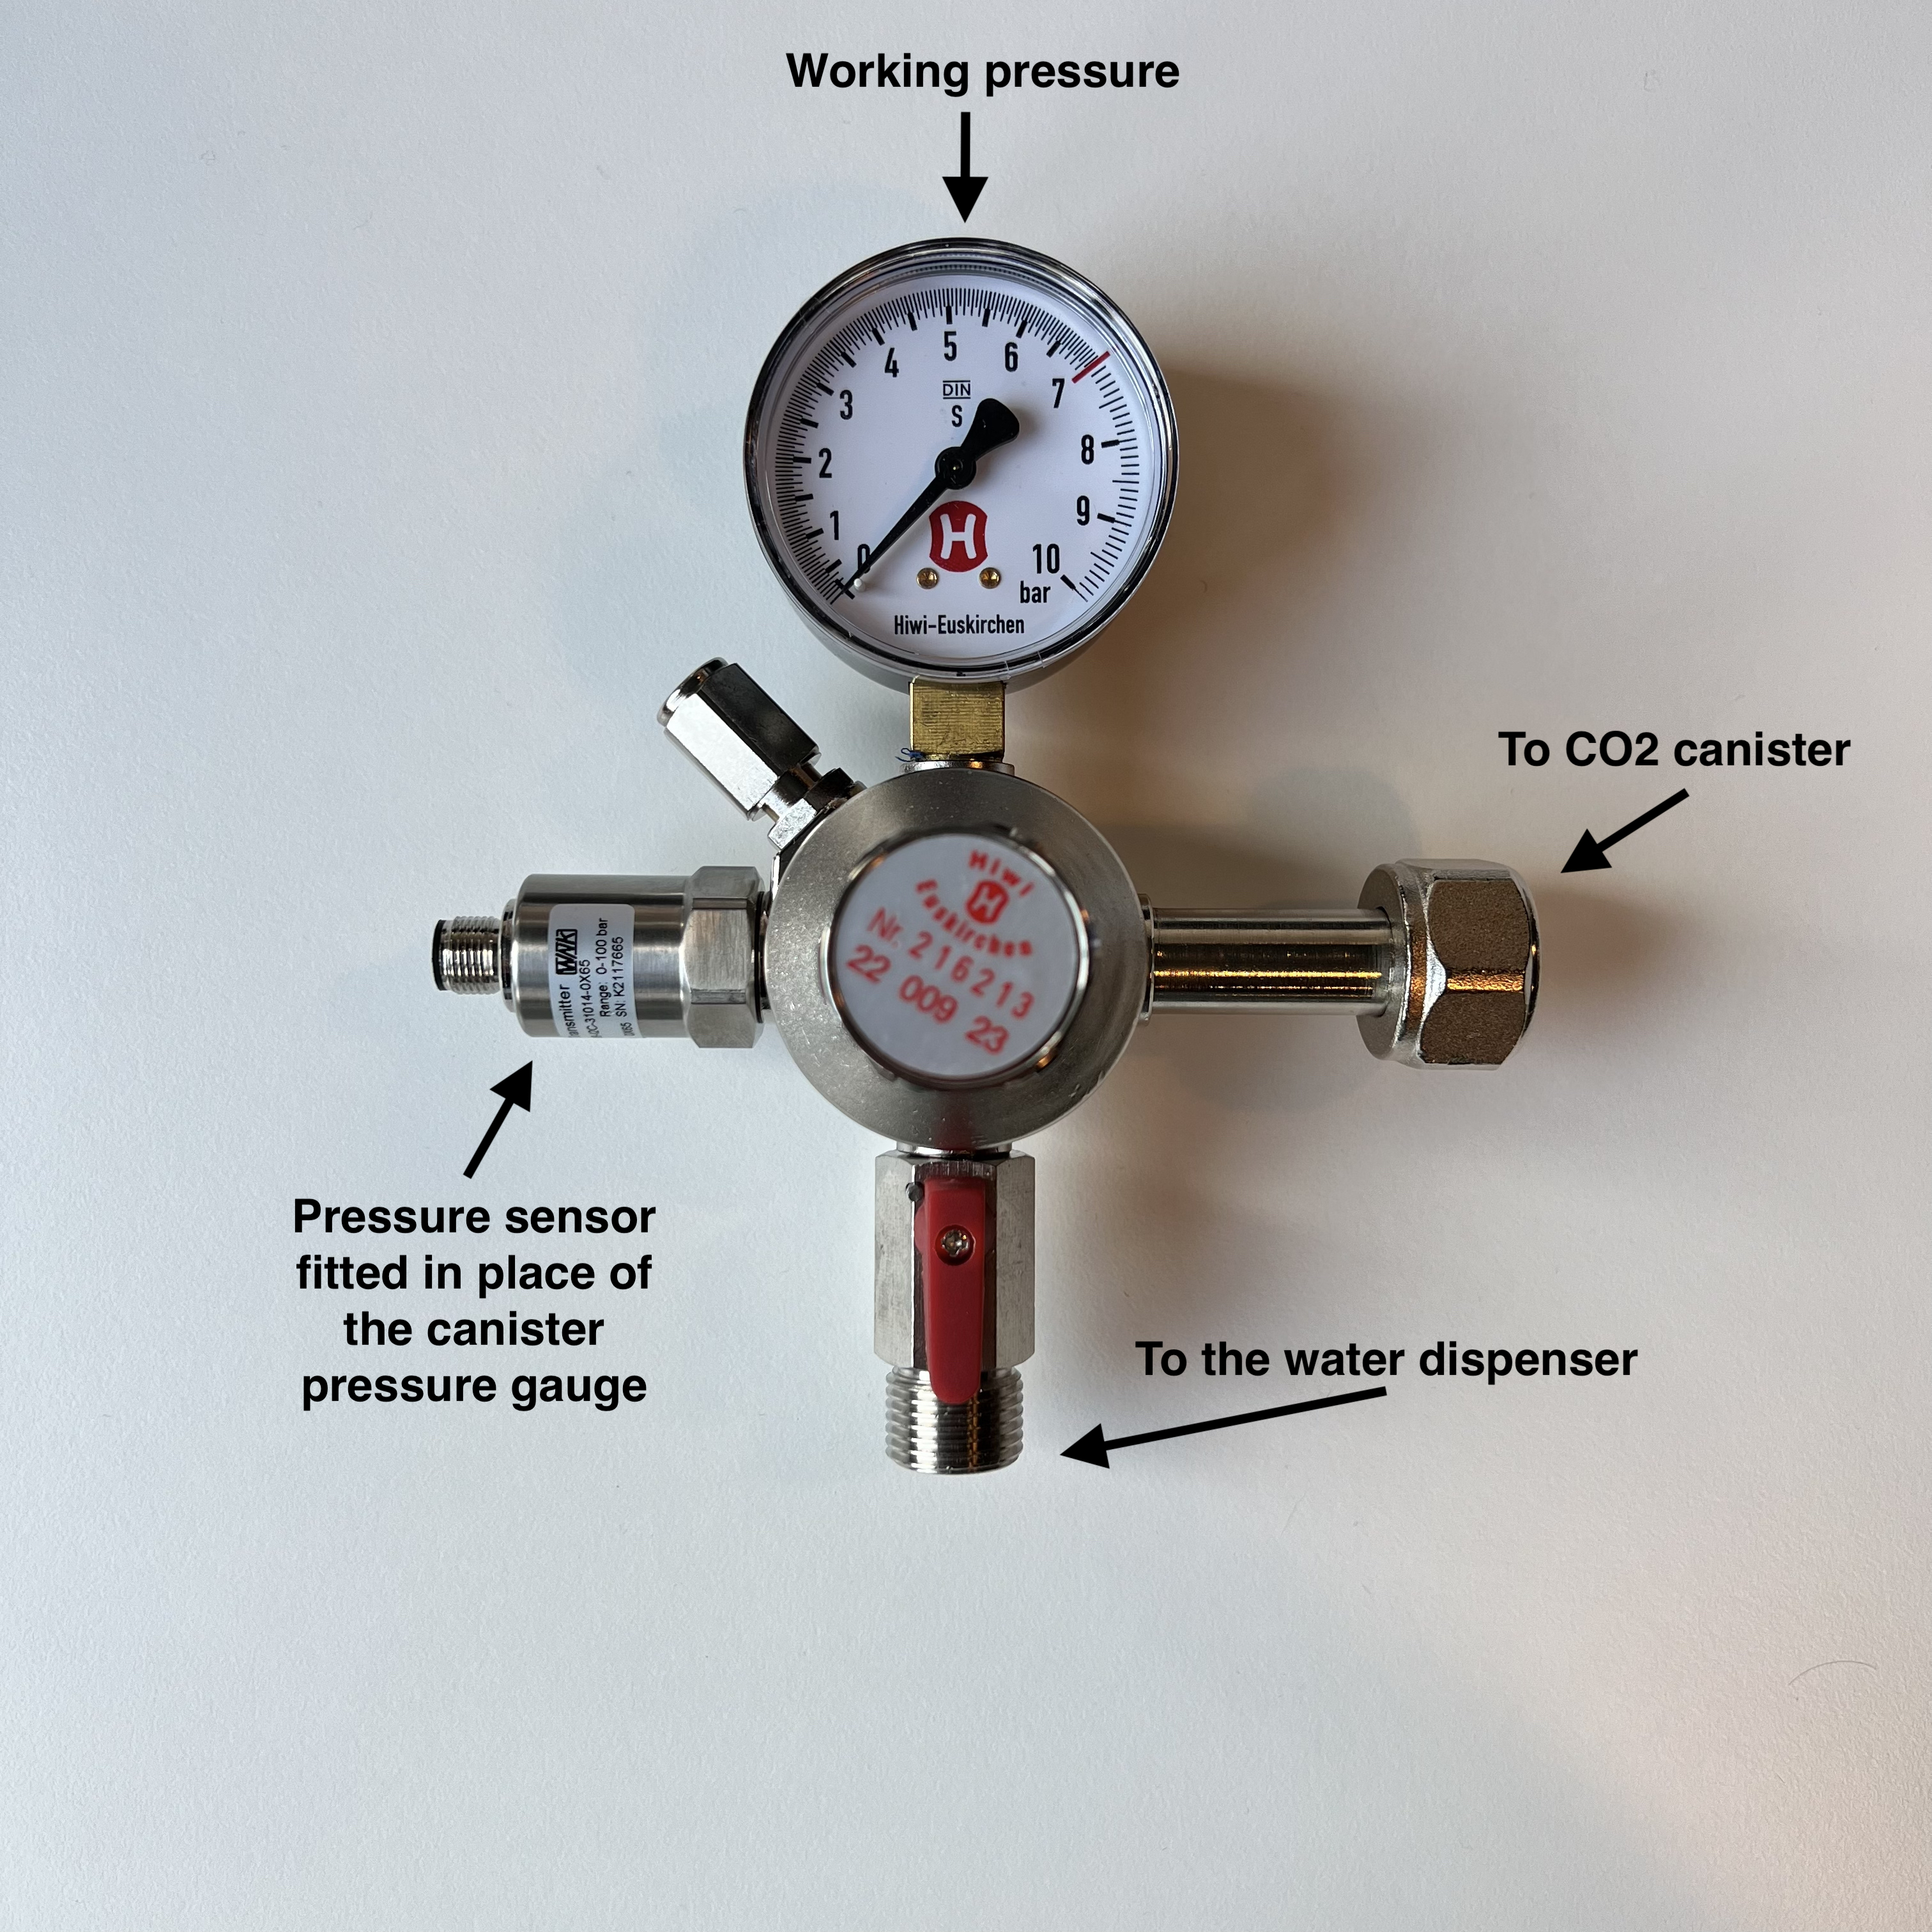
- 1 Smart pressure sensor mounted on the CO2 pressure regulator
- 1 CO2 pressure regulator
- 2 lithium-ion battery
- 1 Torx screwdriver T8
Safety informations
- Keep the device out of the reach of children.
- Do not expose the iLink to temperatures below -20°C or above 60°C.
- Do not expose the flow sensor to liquids below 0°C or above 65°C.
- Do not expose the flow sensor to pressure above 17.5 bar (1.75 MPa).
- During installation, cleaning or decontamination of the sensor, the iLink should be disconnected from the sensor and protected from water or other fluid.
- Basic knowledge of plumbing is required to install the sensor on water points.
Gateway installation & setup
Install the gateway by following the instruction below corresponding to the gateway model you received.
Flow sensor installation
- Install the sensor into the pipe of the water dispenser you want to monitor. Make sure that the arrow on the sensor corresponds to the direction of the water flow.
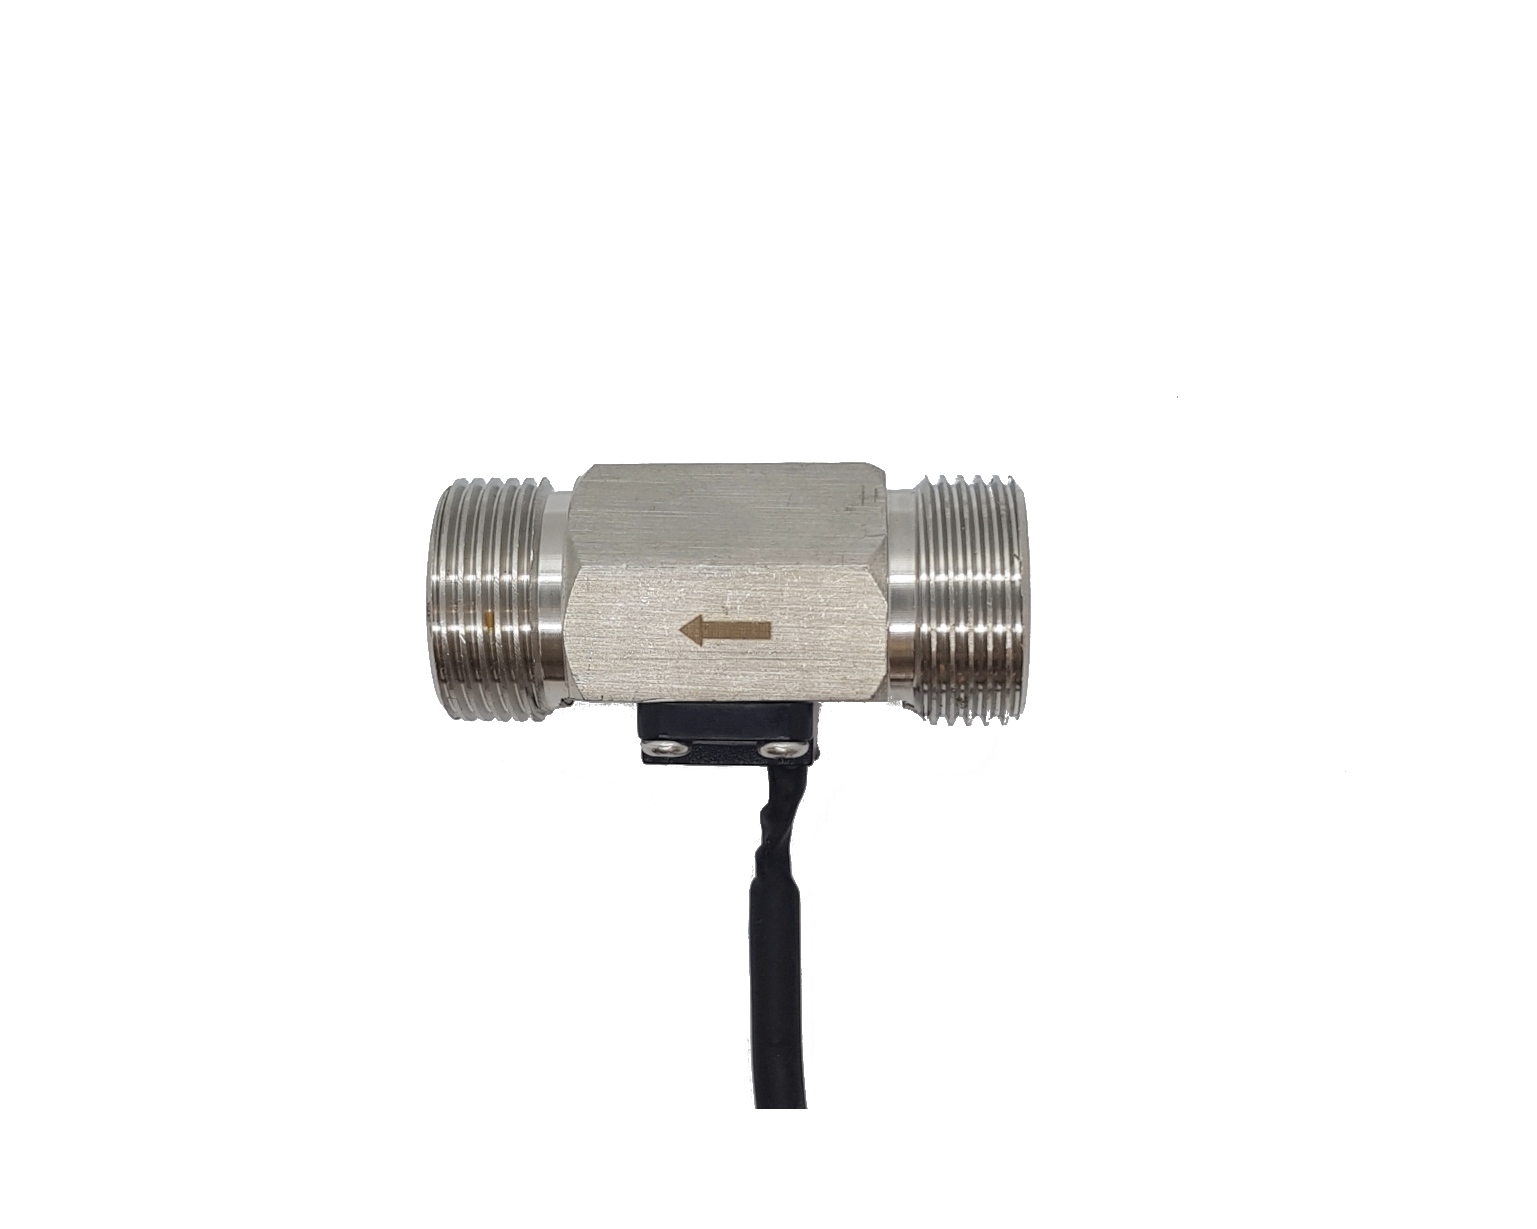
Depending on the asset, the installation of the sensor should be made by a professional plumber and may require additional fittings.
When installed on a water dispenser that has the option for sparkling water, make sure you always install the sensor BEFORE the carbonator.
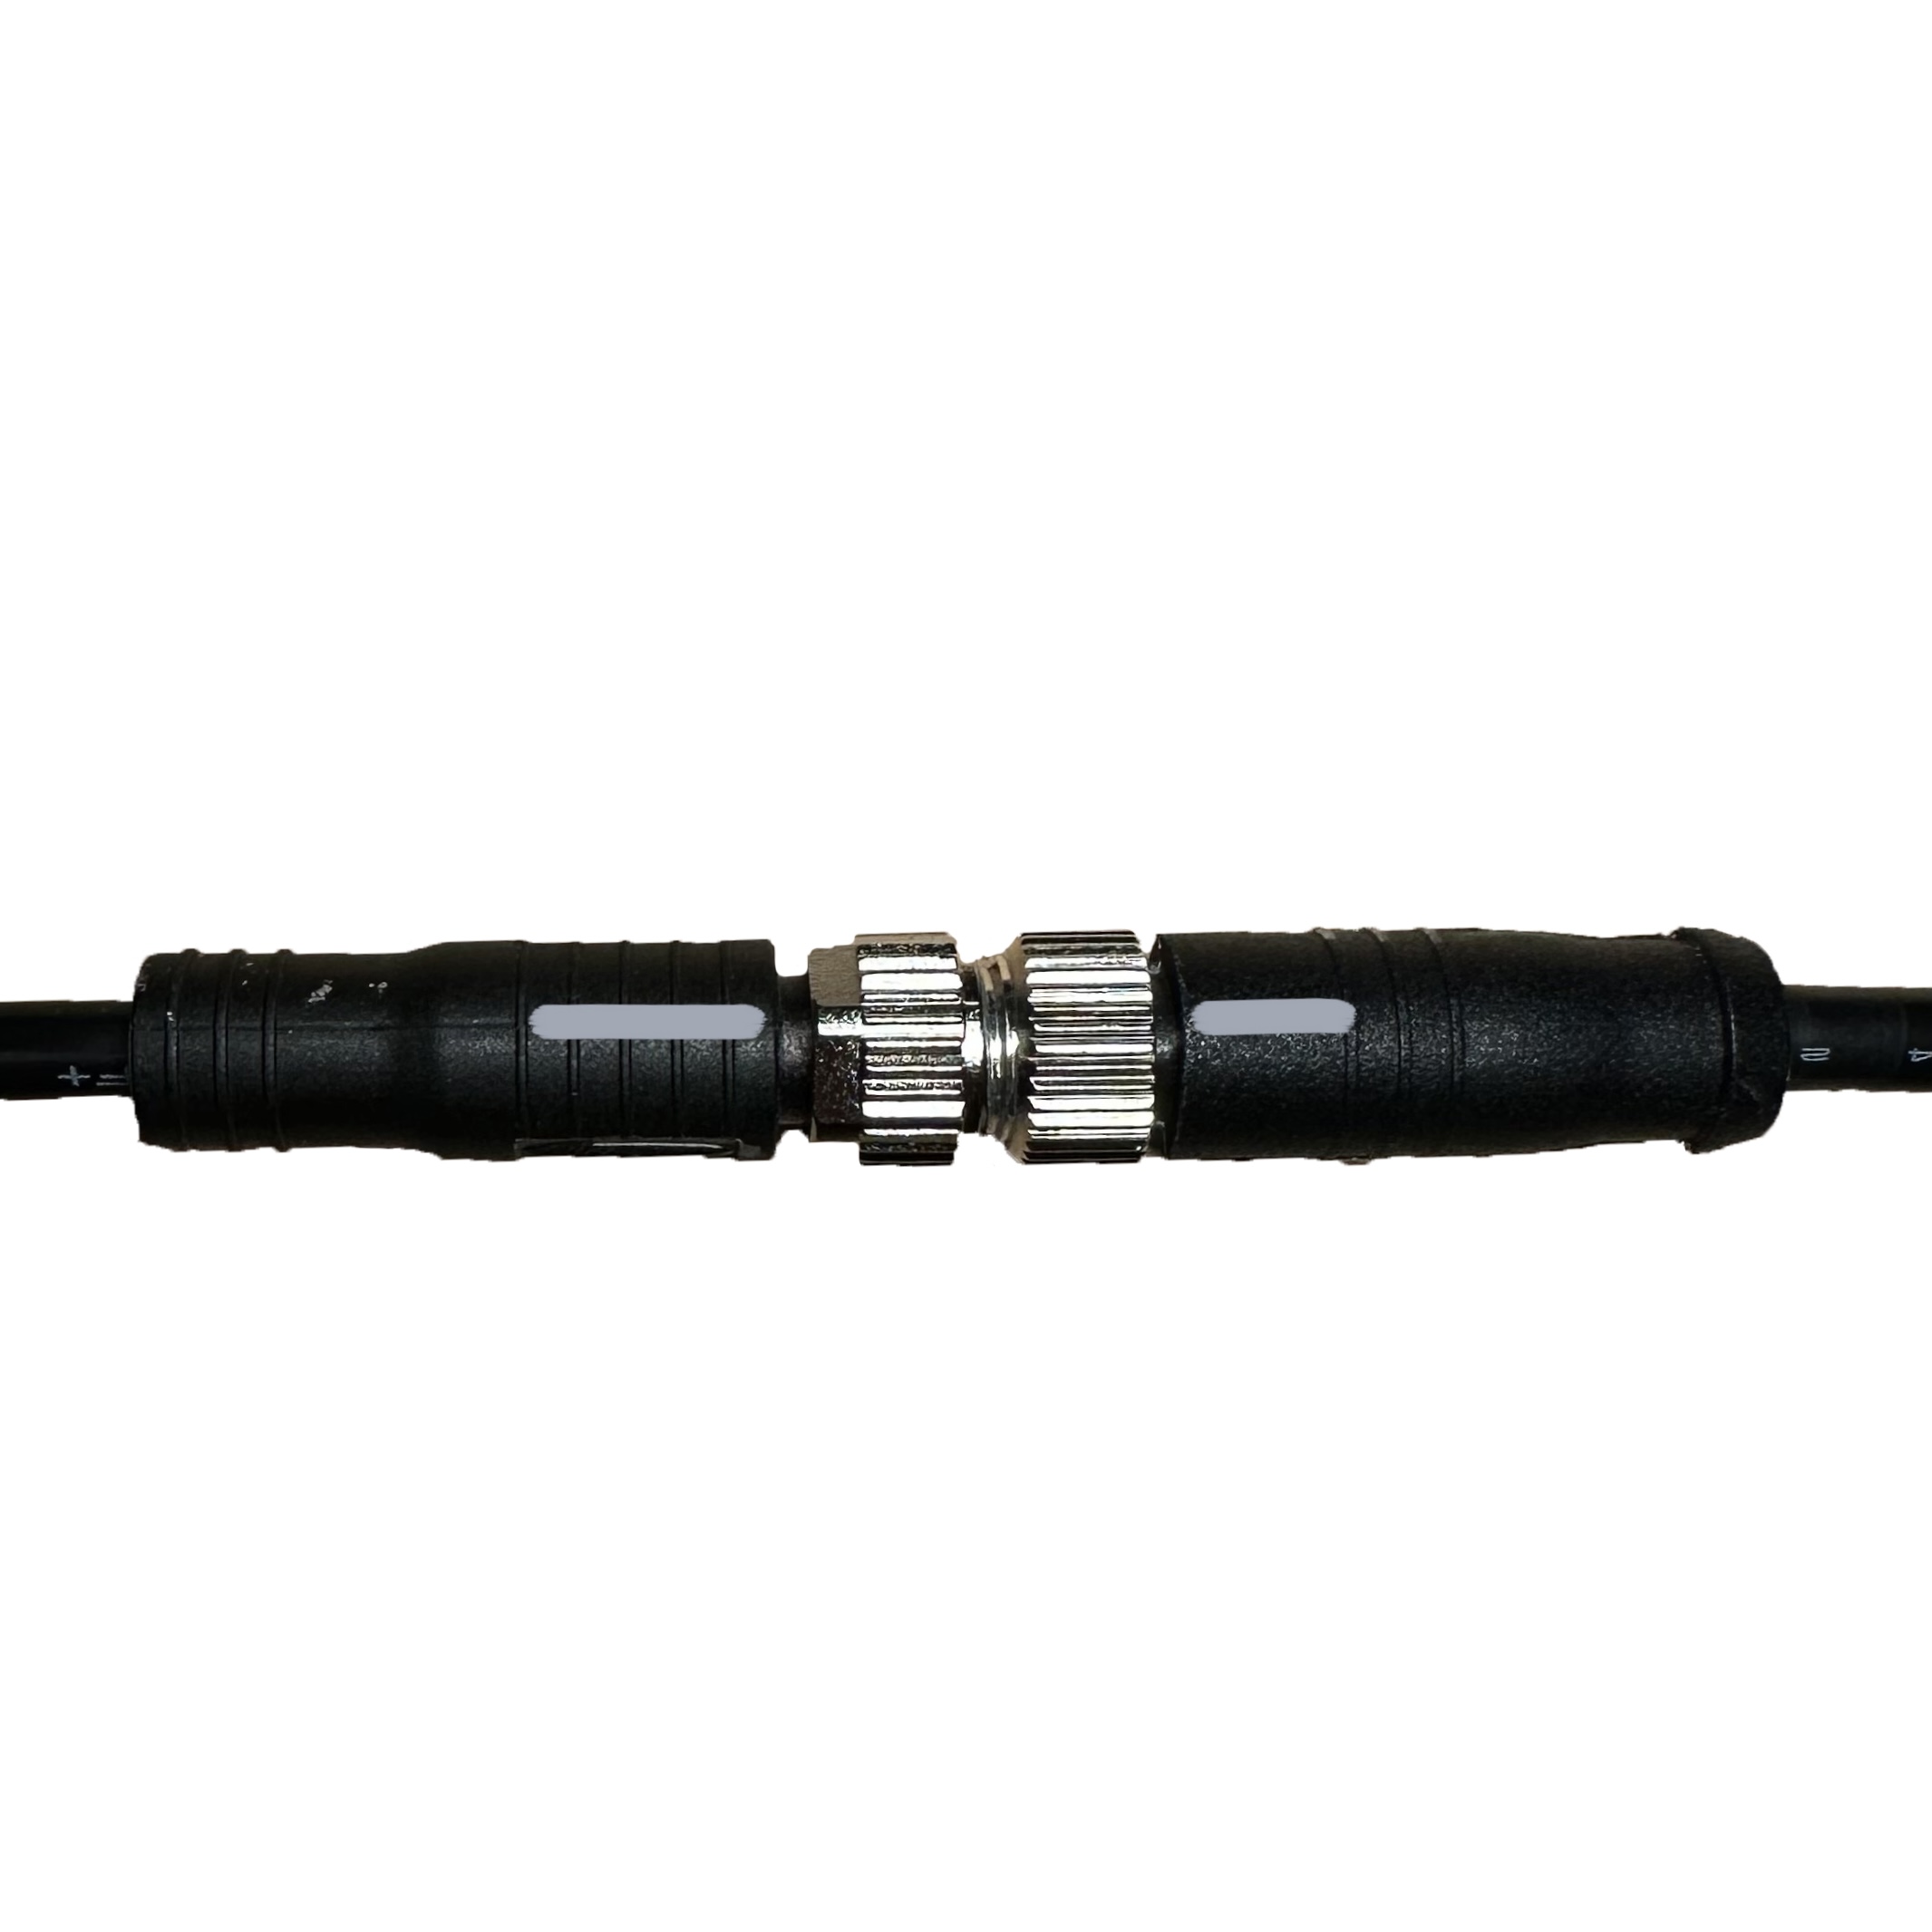
- Connect the sensor to the iLink using the M8 connectors cables.
Be careful to plug the cables in the correct way and make sure that the grey lines on the two cables are aligned (see pictures below)
-
Tighten the screw of the connectors to secure the connection.
-
Remove the plastic tab to turn on the iLink.
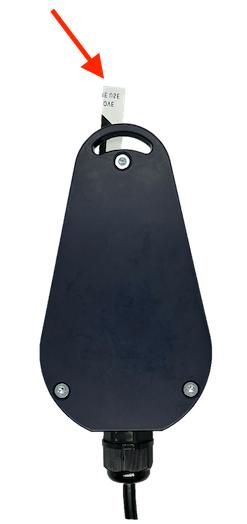
- Screw the three screws in order to secure the back cover of the iLink.
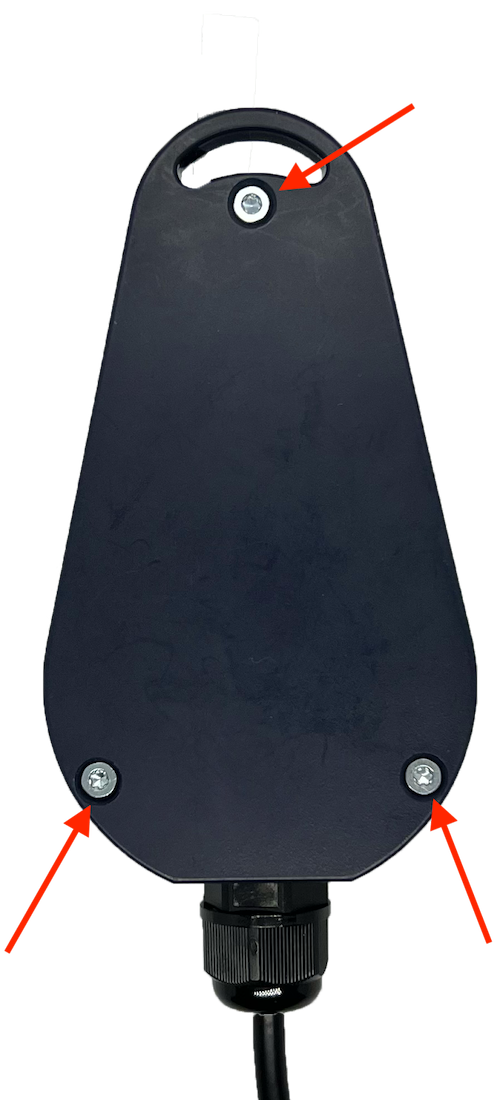
- Place the iLink in a way that no water can leak onto it. Use zip ties or double-sided tapes to secure its position.
Asset creation and flow sensor configuration on the Droople App
The iLink will be associated with your water dispenser. We are going to configure the asset by defining the iLink and sensor associated with it.
- Scan the QR Code on the iLink with the black cable with your smartphone
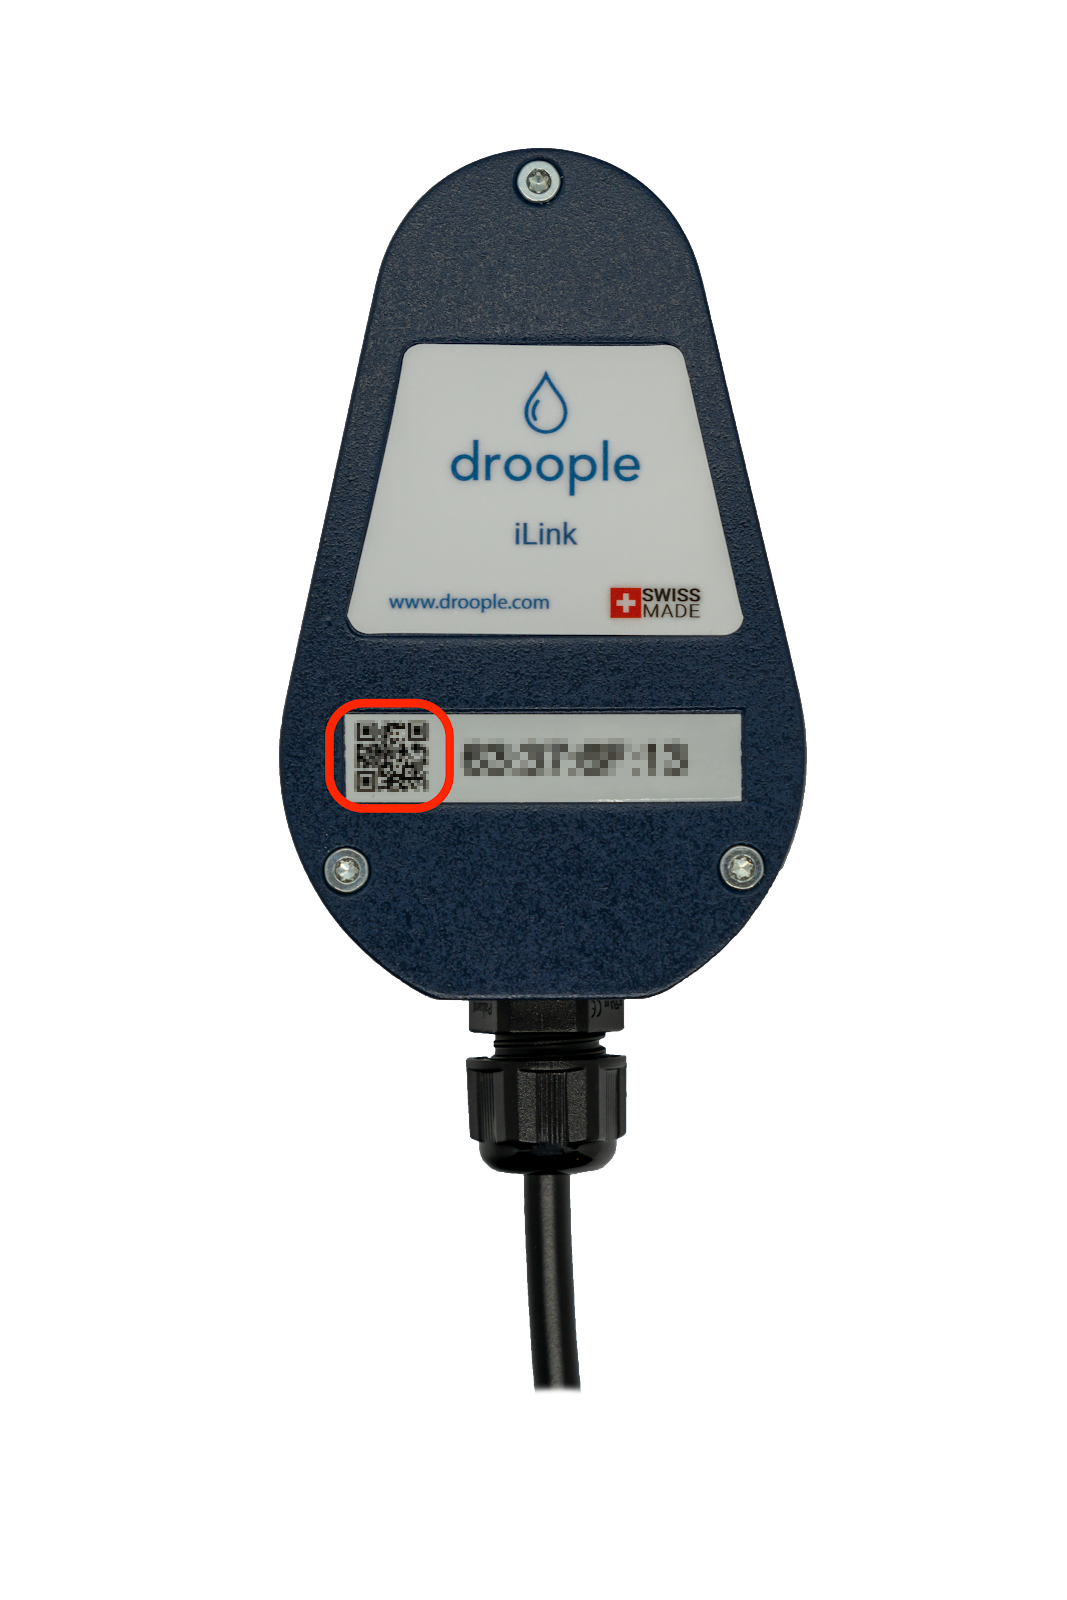
- Create an account or log in if you have one already.
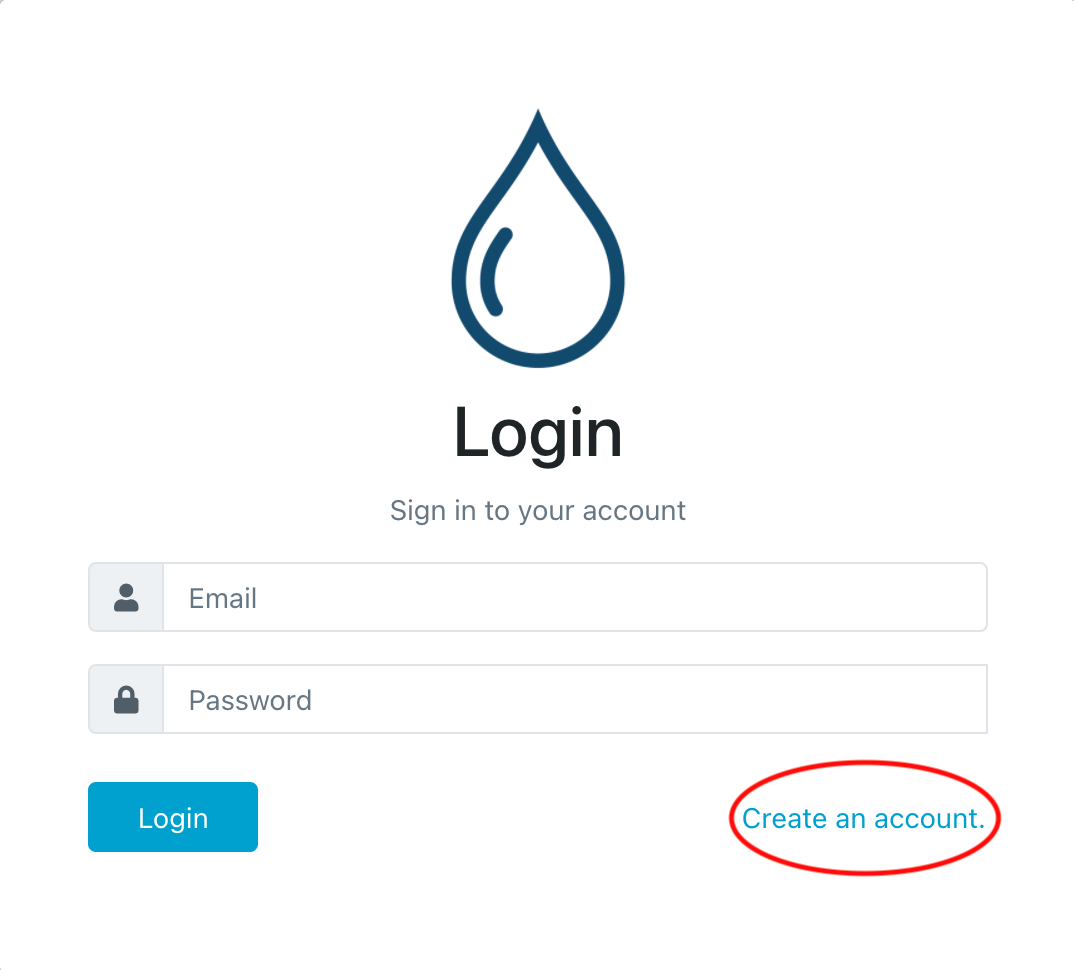
- Once logged in, you will be redirected to the setup page. As your asset doesn’t exist, you will have to create the asset. Click on the button Create the asset associated with the device.

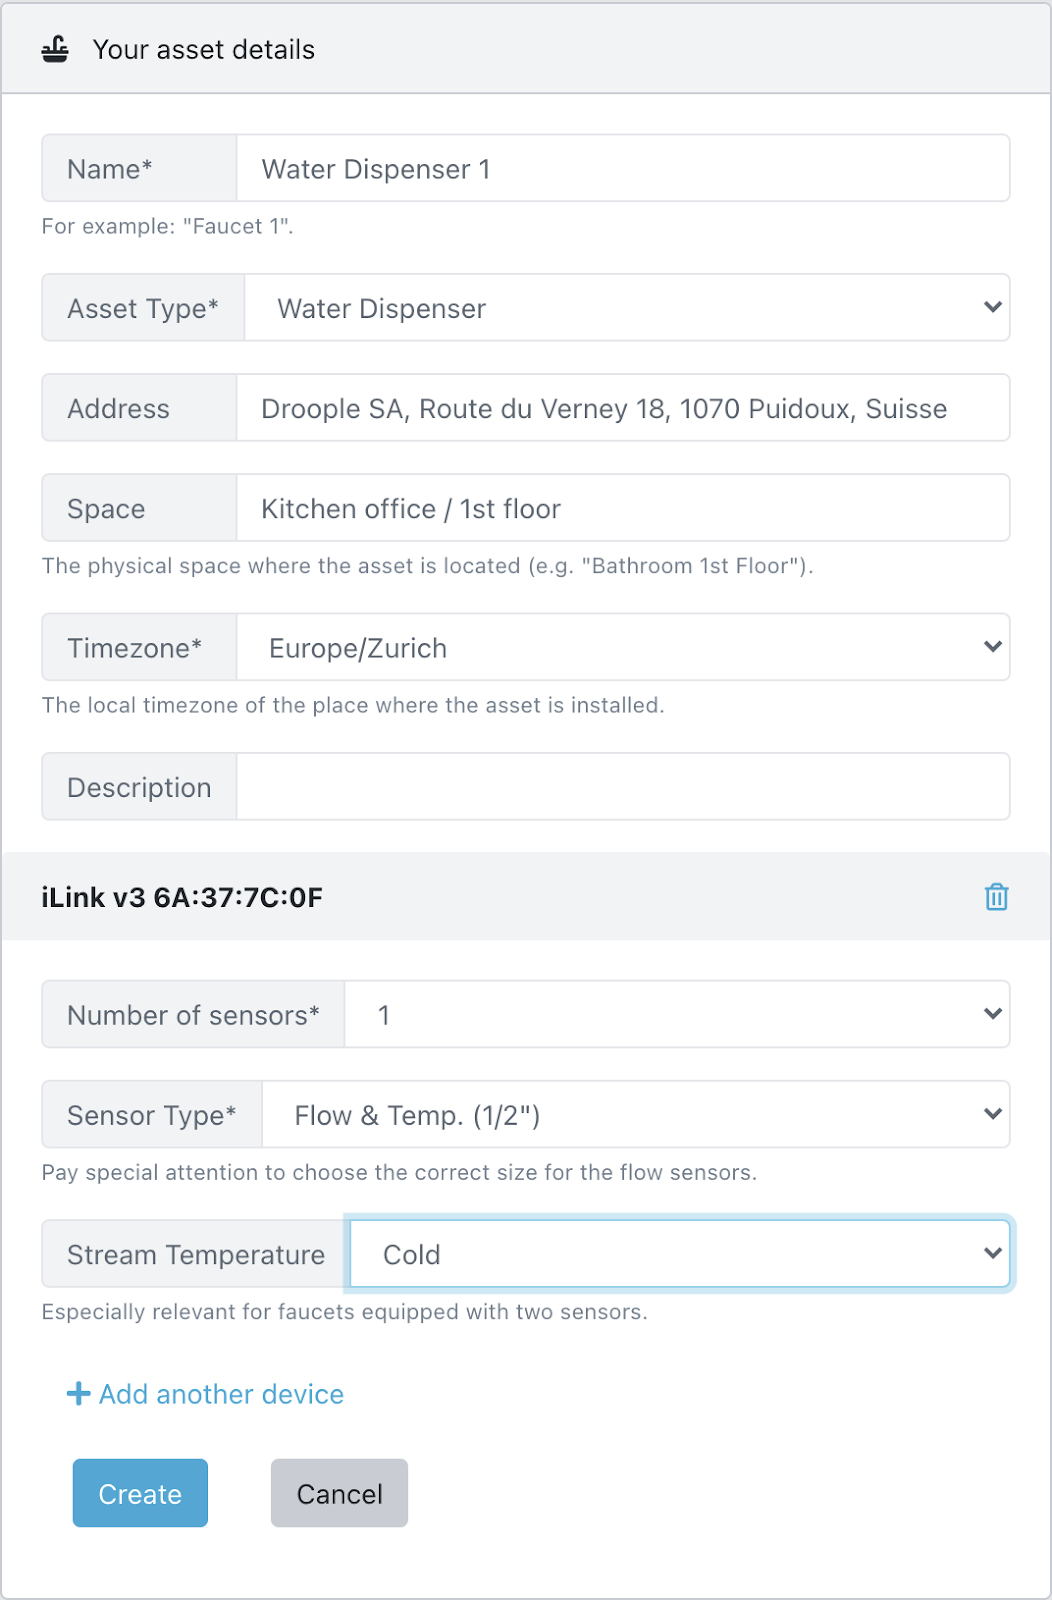
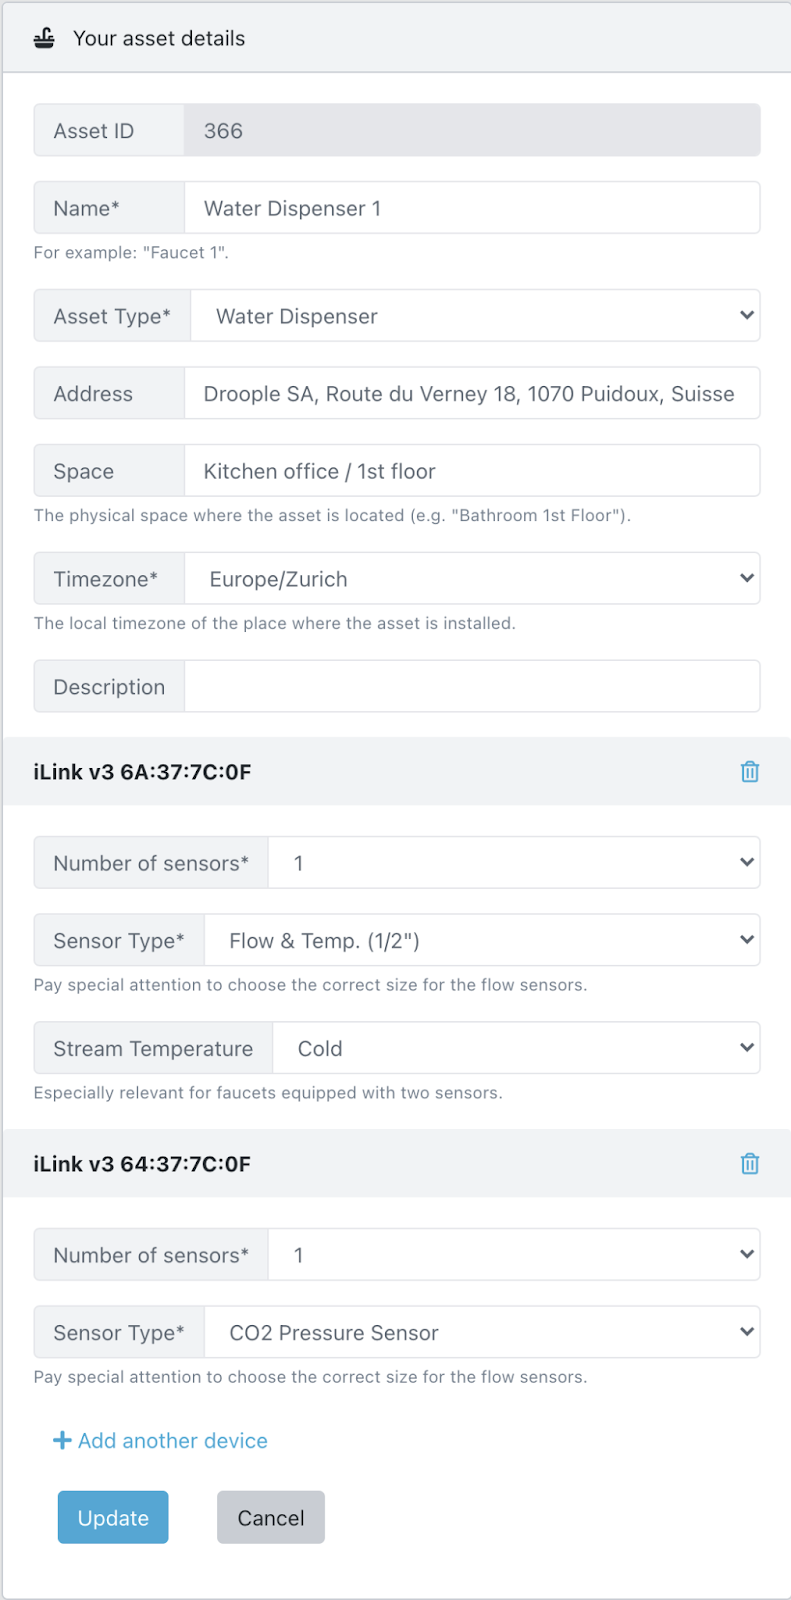
- Configure your asset
- Name: the name of your asset.
E.g. “Water Dispenser 1” - Asset Type: in the drop down list, select “Water Dispenser”
- Address: Enter the address where the asset is located. This information is used to display your asset on the map.
- Space: The name of the physical space where your asset is located. E.g “Kitchen / first floor”
- Timezone: your local time zone
- Configure the sensor connected to your iLink
- Specify the number of sensors connected to your iLink: 1 in your case
- For your sensor:
i. Select the sensor type: Flow & Temp. (1/2”)
ii. Stream temperature (optional): Cold
-
Click “Create”. You will then be redirected to the list of your configured assets.
-
Your metrics should now be available in the menu under “Metrics Overview”.
Pressure sensor installation
- Install the CO2 pressure regulator on the CO2 canister. Make sure that the screw of the regulator is tight to avoid any gas leak.
-
Connect the sensor to the iLink using the M12 connector cable.
-
Tighten the screw of the connectors to secure the connection.
-
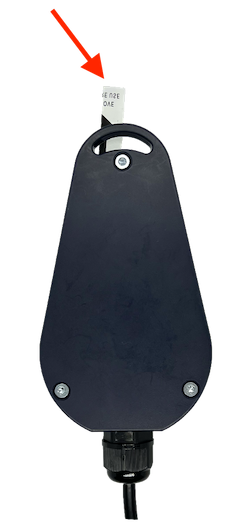
Remove the plastic tab to turn on the iLink.
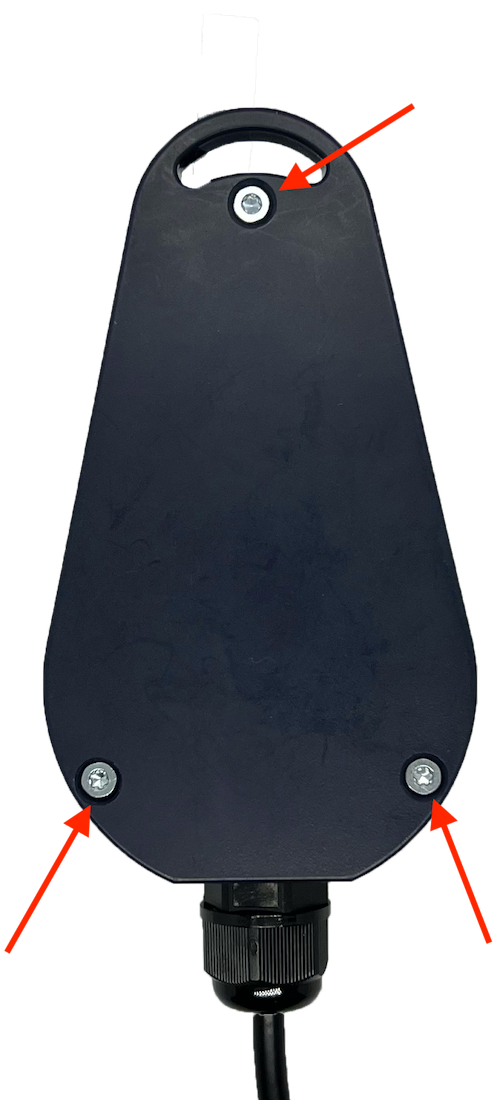
- Screw the three screws in order to secure the back cover of the iLink.
- Place the iLink in a way that no water can leak onto it. Use zip ties or double-sided tapes to secure its position.
Pressure sensor configuration on the Droople App
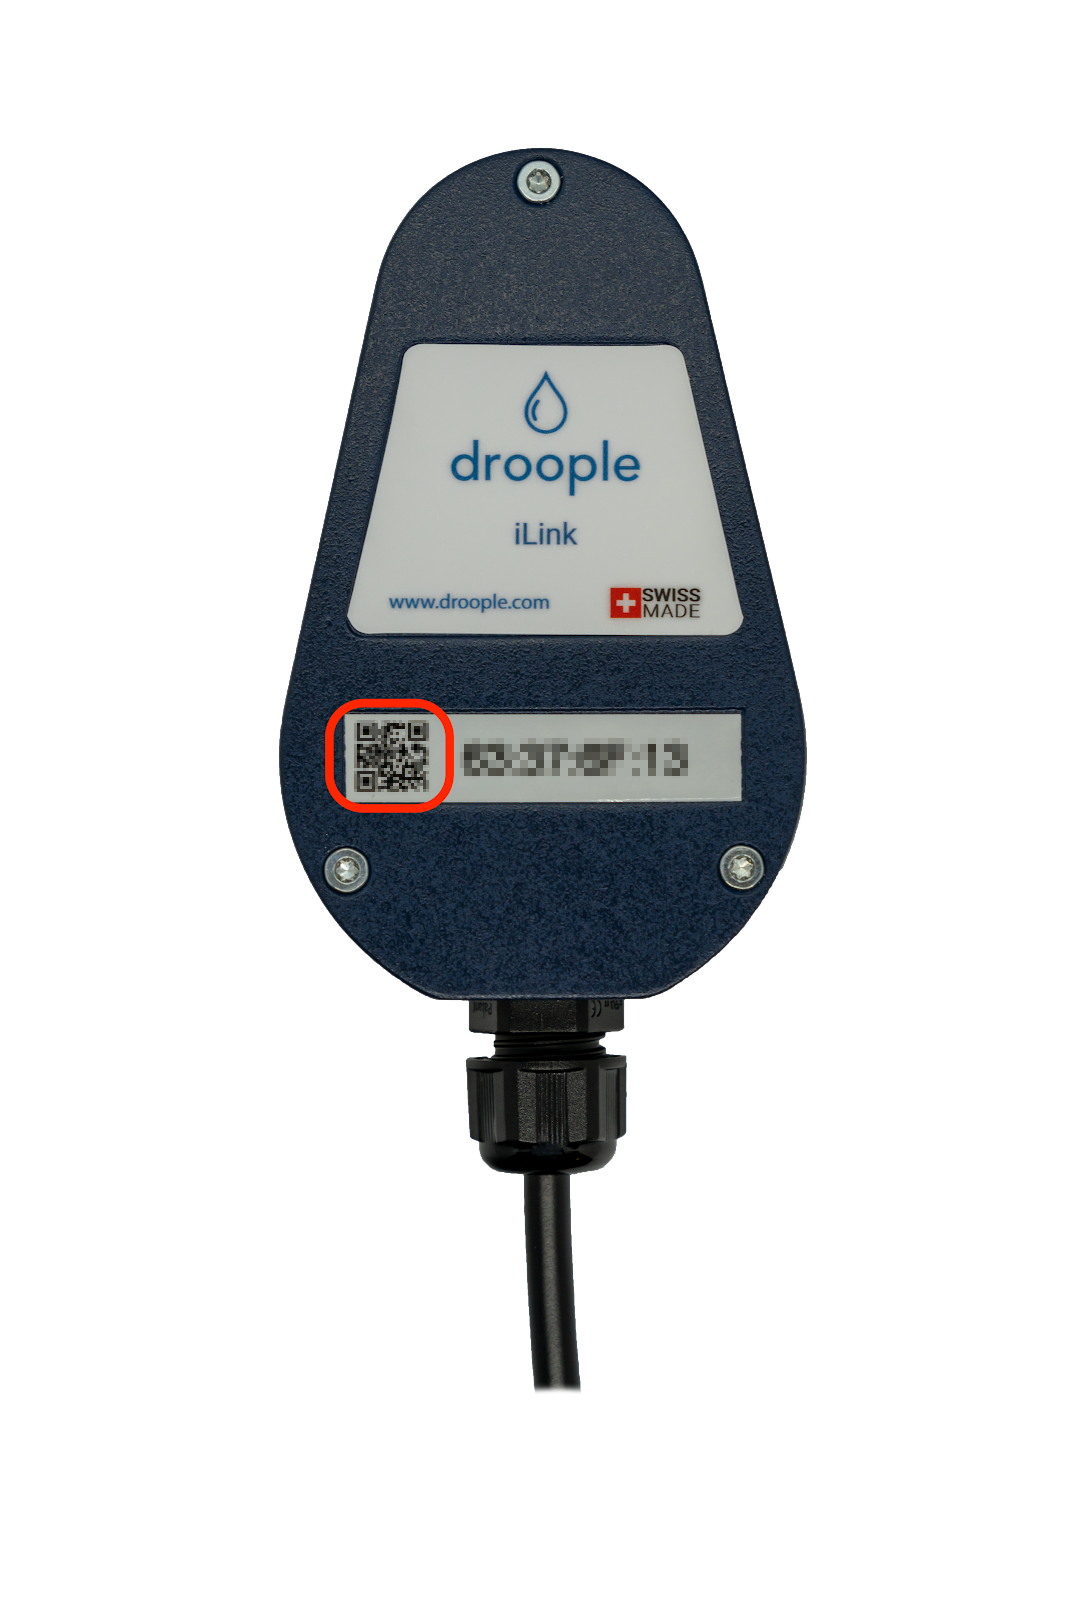
- Scan the QR Code on the iLink with the orange cable with your smartphone
- Log in to your Droople account if needed.
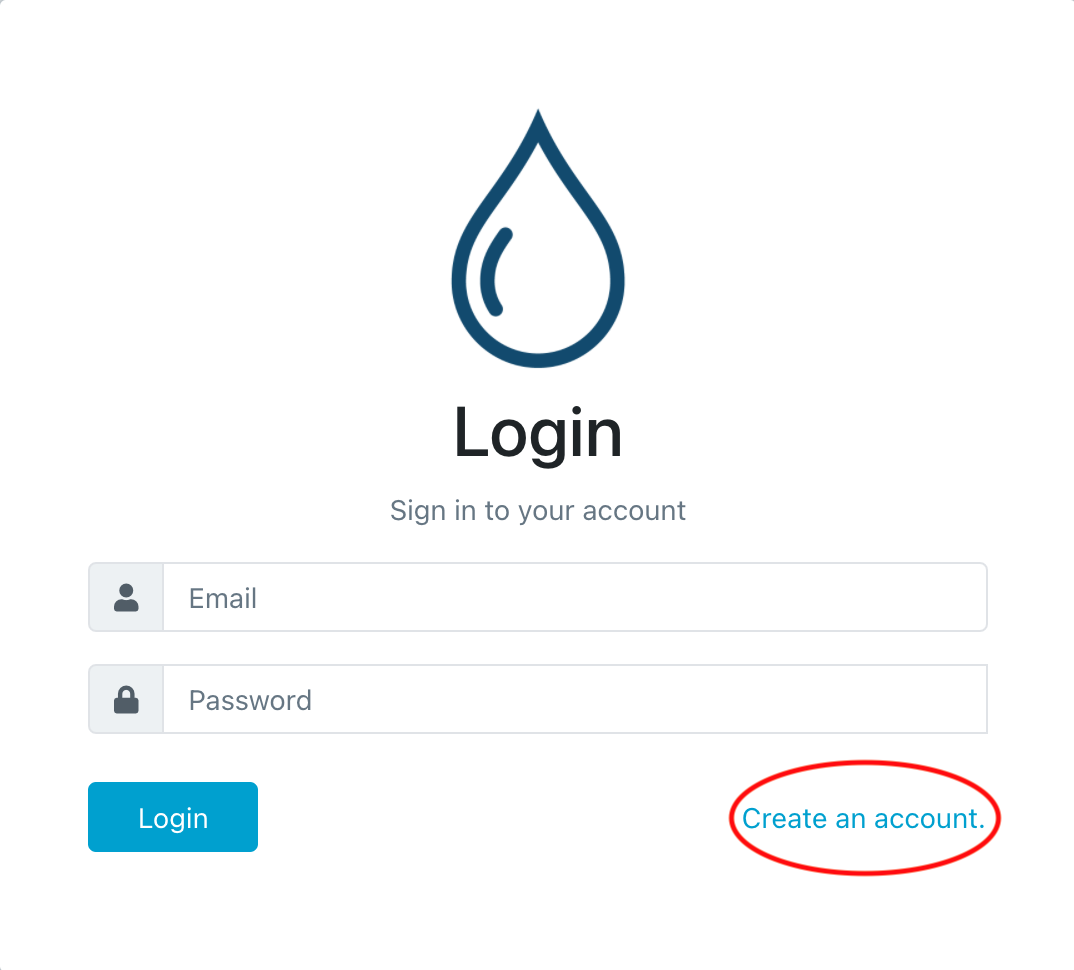
- Once logged in, you will be redirected to the setup page. As your asset already exists because you created it a few steps before, you will have to click on the button Attach to an existing asset and choose the asset from the drop down list.

- Configure the sensor connected to your iLink
a. Specify the number of sensors connected to your iLink: 1 in your case
b. For your sensor:
i. Select the sensor type: CO2 pressure sensor
-
Click “Update”. You will then be redirected to the list of your configured assets.
-
Your metrics should now be available in the menu under “Metrics Overview”.
Let's see if the magic works
-
To see if everything has been set up correctly, let water flow into the asset you want to monitor for at least 10 seconds.
-
Check that the sensor has been correctly installed and there is no water leakage.
-
Connect to the Droople App and see if some data are displayed in the Metrics Overview dashboard. Note that the Droople App will need up to 30 minutes to display the first data points.
-
Congratulations! You have successfully installed the Droople Smart Water Dispenser. It’s time to take a break and enjoy a good glass of water :-)
